A reflash erases the device. Every setting is wiped. On
U1 and U2 that includes the
CD KEY — copy it from
Settings → System in the miner web UI first, because once lost it cannot be recovered from the firmware.
S1 has no CD KEY, so there is nothing to save.
Only need to update a board that already works? Upload the OTA
.zip from the
firmware archive instead — it keeps your settings and, on U1/U2, the key.
Step 1 — pick your board
Three boards, three images
The images are not interchangeable. Pick the model printed on the device or its box.
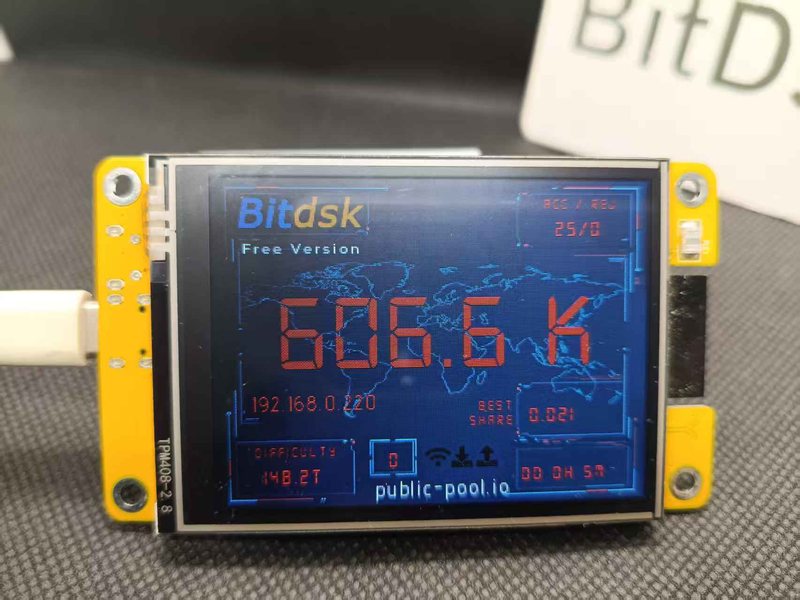
Bitdsk S1
v_1.5
CYD-2432S028 · ESP32 · no ASIC
Runs on the off-the-shelf CYD board. The ESP32 hashes by itself, so this is a desk display and a learning platform rather than a money maker. Firmware is MIT licensed and open source.
600k–800k H/s
USB 5V
2.8″ touch
Source code & build guide on GitHub ↗
Open S1 flasher ↗
Bitdsk U1 Touch
v_1.5.2
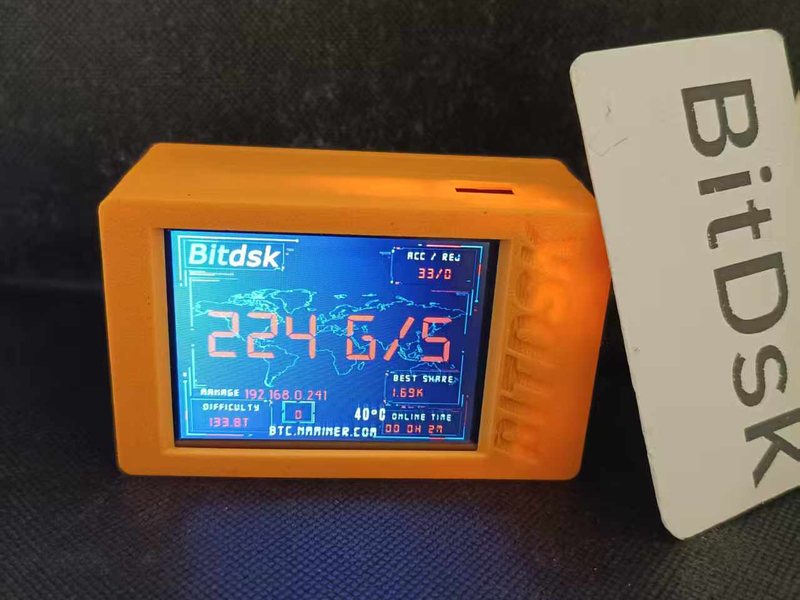
In-house · ESP32 · 200G class
Single-ASIC board with a 2.8″ touchscreen, 200G at about 10 W. The image ships without a CD KEY — re-enter your backup afterwards.
200G
≈10 W
2.8″ touch
Open U1 flasher ↗
Bitdsk U2 Touch
v_1.5.2
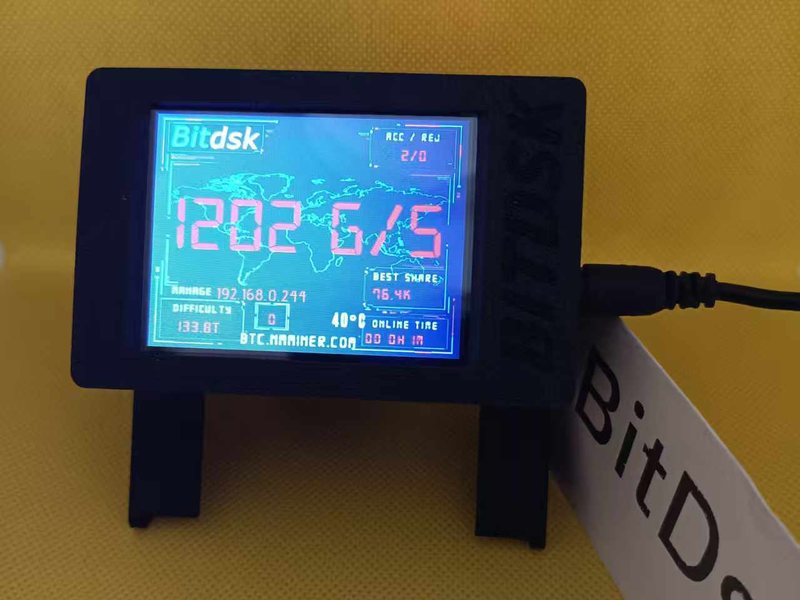
In-house · ESP32 · 1100–1500G class
Different silicon from U1, 1100–1500G at 22–27 W. Shares the application image with U1; only the NVS partition identifies the model. Carries a CD KEY — re-enter your backup afterwards.
1100–1500G
≈22–27 W
2.8″ touch
Open U2 flasher ↗
The flasher is temporarily unavailable.
The browser flashing pages are published separately from this site and the link could not be resolved.
In the meantime, the OTA
.zip files in the
firmware archive still work for any board that boots.
Step 2 — before you connect
What you need
Requirements
- Desktop Chrome or Edge. Web Serial does not exist in Safari, Firefox or on mobile.
- A data-capable USB cable. Charge-only cables are the most common reason nothing shows up.
- U1 / U2: use the Flash Port. Those boards have a dedicated port for flashing — use that one, not the power port. No USB-TTL adapter is needed. On S1 the CYD's single USB port carries both power and serial.
- HTTPS. The browser blocks serial access on plain
http:// pages.
- Nothing else holding the port. Close Arduino IDE, a serial monitor or any other tab that already has the board open.
Procedure
- Open the flasher for your board above and connect the USB cable.
- Pick the serial port that appears — the Flash Port shows up as a COM port.
- Keep Erase device checked for a clean install.
- Wait for Installation complete. Do not unplug while it writes.
- Join the device's AP and open the web UI. On U1/U2, re-enter your CD KEY there.
No COM port in the list? Check the cable is in the Flash Port and that it is a data cable, close anything else holding the port, and try another USB port.
On Windows, if the device shows up with a warning in Device Manager, install the USB-serial driver for that chip — the CYD board used by S1 is CH340.
N5 series, N8 series and legacy boards are not flashed in the browser.
Those devices update by uploading a
.zip through the miner web UI — the files are in the
firmware archive.